Life is almost on pause at the moment waiting for the little one to arrive. I will officially be 40 weeks tomorrow, so hoping he/she won't be much longer. Not much to report as a result. I am working away on my various knitting projects, but the downside to knitting is that things take so much longer to produce, consequently I have no photos of beautiful finished articles to post yet!
I am loving the Honey Cowl pattern. It knits up beautifully and is simple enough to be a 'take anywhere' kind of project. I even think it will make the cut and join the contents of my hospital bag when the time comes!
So, keep checking back. Normal service will resume shortly!
Tuesday, 12 February 2013

Wednesday, 6 February 2013
Hooks and needles!
Wow - the urge to create has really gotten a hold of me at the moment - I can only put it down to the impulse of all those creative hormones flooding around my body at the moment, combined with the need to conserve energy by mooching around the house.
I now have no less than 4 active projects on hooks and needles, and I stress the word 'active' as opposed to my usual trick of starting something, getting a bit bored and abandoning it to the excitement of starting something new!

 I can't quite describe the colour of this yarn. It's a Sirdar Click wool and acrylic mix - nothing too fancy for my first attempt, but it's nice and soft and hopefully won't be too itchy. It was also on offer for £2 a ball! The colour could be grey, but has accents of blue, green, and red or pink, or possibly brown, so the overall effect changes with the light. It's a bit like oil on a puddle, or the North Sea under a British sky! It will be my mirage cowl!
  I have replenished my yarn supplies to continue working on my ripple blanket, although the perfectionist in me is tempting me to frog it and start again now that I know I made such a significant error interpreting the instructions! I shall have to see which wins out - my OCD leanings or my or my reluctance to start over!
And finally....

I have cast on to make another February Lady Sweater - an awesome cardigan pattern with a terrible name! This is another free pattern made available through Ravelry. It's the only large item of clothing I have ever attempted knitting for myself, and it was really successful (shock!). I wear it all the time, so much so that it's already starting to go bobbly.

I tried to take some photos of the detail, but my lighting wasn't great and it was really hard to reproduce the colour - it definitely looks best in the sunshine above! The yoke is knit in garter stitch, then the arms and body continue in a gull lace pattern. It's lovely and goes with everything!


Admittedly, this make might take me a while. I blush to admit that this first one took me a year and five months to complete (eek!). Not that I was working on it constantly. A sudden fear gripped me three-quarters of the way through that it wouldn't fit, and I completely stalled, putting it away for months. Thankfully I did finally dig it out and make the final push to get it done. Then came the moment of truth, and - VICTORY, Hoorah!
So, I now have several projects on the go with enough variety to keep my hands and brain busy as I sit and wait for the baby to arrive. 39 weeks today - won't be long now!
Saturday, 2 February 2013
Can you guess what it is yet?

Poor neglected sewing machine! It has been sat on this chair in a forlorn manner for nearly a month now, with nothing but a shepherd (painted by a 3yr old) for company. I feel very sorry for it, but am resigned to the fact that I'm unlikely to use it now until after the baby's born.
 I have been resorting to more crochet instead! My ripple blanket is coming along - although I realised I had made a HUGE error whilst using my Ravelry pattern! I had forgotten that many Ravelry users are from across the pond, and consequently use American crochet terms, which look the same as English crochet terms BUT ARE DIFFERENT!!! You say tom-ay-to, I say tom-ar-to? In this case a dc or double crochet in American terms does not mean an English double crochet, but a treble crochet. Doh! I should have had a better look at the picture first and I might have noticed that something didn't quite add up!! As it is my blanket still looks lovely, but it is probably a lot more dense and less soft than it would have been if I'd followed the instructions correctly! It may just end up being a 'rolling around on the floor' type blanket instead of a 'wrap me up so I'm nice and cosy' type blanket. Nevermind - I'll know for next time, and because I've started I'm going to blinking well persevere!!
 For those who may be at risk of making the same mistake I did, here is a chart comparing American and English crochet terms that I lifted from About.com:
British vs American English Crochet Patterns
|
|
British English
|
USA - American English
|
double crochet (dc)
|
single crochet (sc)
|
half treble (htr)
|
half double crochet (hdc)
|
treble (tr)
|
double crochet (dc)
|
double treble (dtr)
|
treble (tr)
|
triple treble (trtr)
|
double treble (dtr)
|
miss
|
skip
|
tension
|
gauge
|
yarn over hook (yoh)
|
yarn over (yo)
|
Hope it helps!
Anyway, the ripple blanket is currently on hold as I ran out of yarn yesterday - double doh! - and need to take a trip to Hobbycraft to get some more. I've been trying to go with more neutral colours for this one as we don't know whether we're having a girl or a boy (and my granny square blanket did have a distinctly girly feel to it!!) so I went with purple, green and cream. That meant I was still left with my remaining pink and yellow yarn (also from the granny square blanket), so I decided to make use of this on a smaller project until I can get to the shop for more supplies.
 |
| Can you guess what it is yet? |
Despite looking alarmingly like a toilet roll cover, this is in fact going to be a baby doll dress for Emily's new Baby Bjorn. It's another Ravelry pattern (Delightfully Pink Baby Doll Dress by Anna Ness) and yes, I did work out that it uses American crochet terms - yay! I'm loving the fact that crochet projects come along so quickly (soooo satisfying!) and also that they are so portable. I've been taking my crochet everywhere with me lately, and it's such a conversation starter! What with that and being nearly 9 months pregnant I've been talking to all manner of folk recently! All good fun.
Thursday, 31 January 2013
My favourite ever make!
Here's another long one folks! Time to blog about my favourite ever make!
I blogged before about changing the children's rooms about ready to make room for the new baby (who's nearly here!). Emily and the baby will share what was our spare room. Now, I don't know about you, but we've never put much effort into spare rooms. In an ideal world it would be lovely to have a beautifully organised and 'finished' space to invite relatives and friends to stay in, but in reality our spare room is always a dumping ground with a bed in it! I did recently invest in some new duvet covers, as our others spares were generally 80s cast offs passed on from parents, but that's been about it. Of course, a child's bedroom is another matter - we wanted that to be cosy and pretty and inviting - particularly so that Emily would not be upset about the move! We are a clergy family as I have said before, so we live in a house owned by the church and are consequently loath to spend a lot of money on alterations when we're unlikely to be here for long. We had to concede to buying a new carpet, as the bare floorboards were not cosy and tended to amplify the patter of tiny feet throughout the whole house, but we were not keen to repaint the walls. Which left us a problem with this -

- the destruction left on the wall (against which Emily's bed would be) where some shelving had previously decided to part company with the wall! Ugh!
I guess we could have stuck a poster over the space, but never liking to miss the opportunity of bit of crafting an idea started to form in my head. I would make a personalised wall hanging - something beautiful that would last and that could be taken with us to the next house (and the next...). I looked around online for tutorials and ideas, but didn't find anything quite right. I kind of liked a couple of ideas like this one from Sania Pell's The Homemade Home for Children, which used artificial flower heads, and this one which was inspired by the same book. However, I wanted to make all the flowers, include a border, and, most importantly, take every opportunity to use my new sewing machine, which in this case meant trying my hand at applique, something I had not done before. So, armed with scraps, ribbons, buttons and cat templates I started my planning.

The flowers were the easiest place to start. I perused a couple of tutorials (here and here) first, but also used my initiative. Then I planned out my scene (cats were an essential feature!):

 Next I was back to mitred corners again for the border. I did this using the same technique that I used to make the tablecloth/picnic blanket for Emily's Tea Set. It was a little fiddly as I wanted to double layer the polka dot and gingham fabric so that it wasn't too see through, and I only just had enough fabric left to do it. At least this made the decision about the border size pretty straight forward!
 To prepare applique pieces for both the cats and also for lettering I ironed some interface onto my fabric scraps and cut out shapes from my cardboard templates (remembering to place the letters on backwards!). When it came to sewing them on I was a little naughty - since my interface only had adhesive on one side, and since this was to be a wall hanging and not clothing (and therefore was unlikely to be washed) I simply glued my pieces in place with pritt stick before sewing around them with a zigzag overedge stitch. It may have been cheating, but it worked! It also meant I could use my zigzag foot for the stitching and not my overcasting foot, which is great but doesn't give you much visibility to see where you're stitching.
Then it was just a case of assembling all the different components. The flower stems are a variety of ribbon, felt and crocheted yarn, all machine stitched onto the backing. The leaves were all cut from felt and also machine stitched on. I attached the front piece to the backing (wrong sides together - pillowcase style!) not forgetting to insert two pieces of dowling - one held at the top with ribbons to allow for hanging, and one at the bottom to weight the piece down. The only handstitching I did was to attach the flowerheads, buttons and a few interesting insects for extra detail, which I did right at the very end.
And finally, after about two weeks of working on it on and off, it was done! And I LOVE IT!

Even more importantly, Emily loves it. It covers the wall carnage perfectly, and really finishes off her side of the room. Now I'll just have to make another one for the baby's side!
 |
| My work here is done! |
Wednesday, 30 January 2013
The urge to crochet!
Must be a new record for me. I only finished my granny-square blanket on Sunday and I already have another project 'on the hook'! So strong was the urge to crochet that I cast on (is that the right term, or is that just in knitting?!) another baby blanket. Not that I need to make one - I was just desperate for something (anything) simple to crochet. Perhaps I can put it down to the nesting instinct!
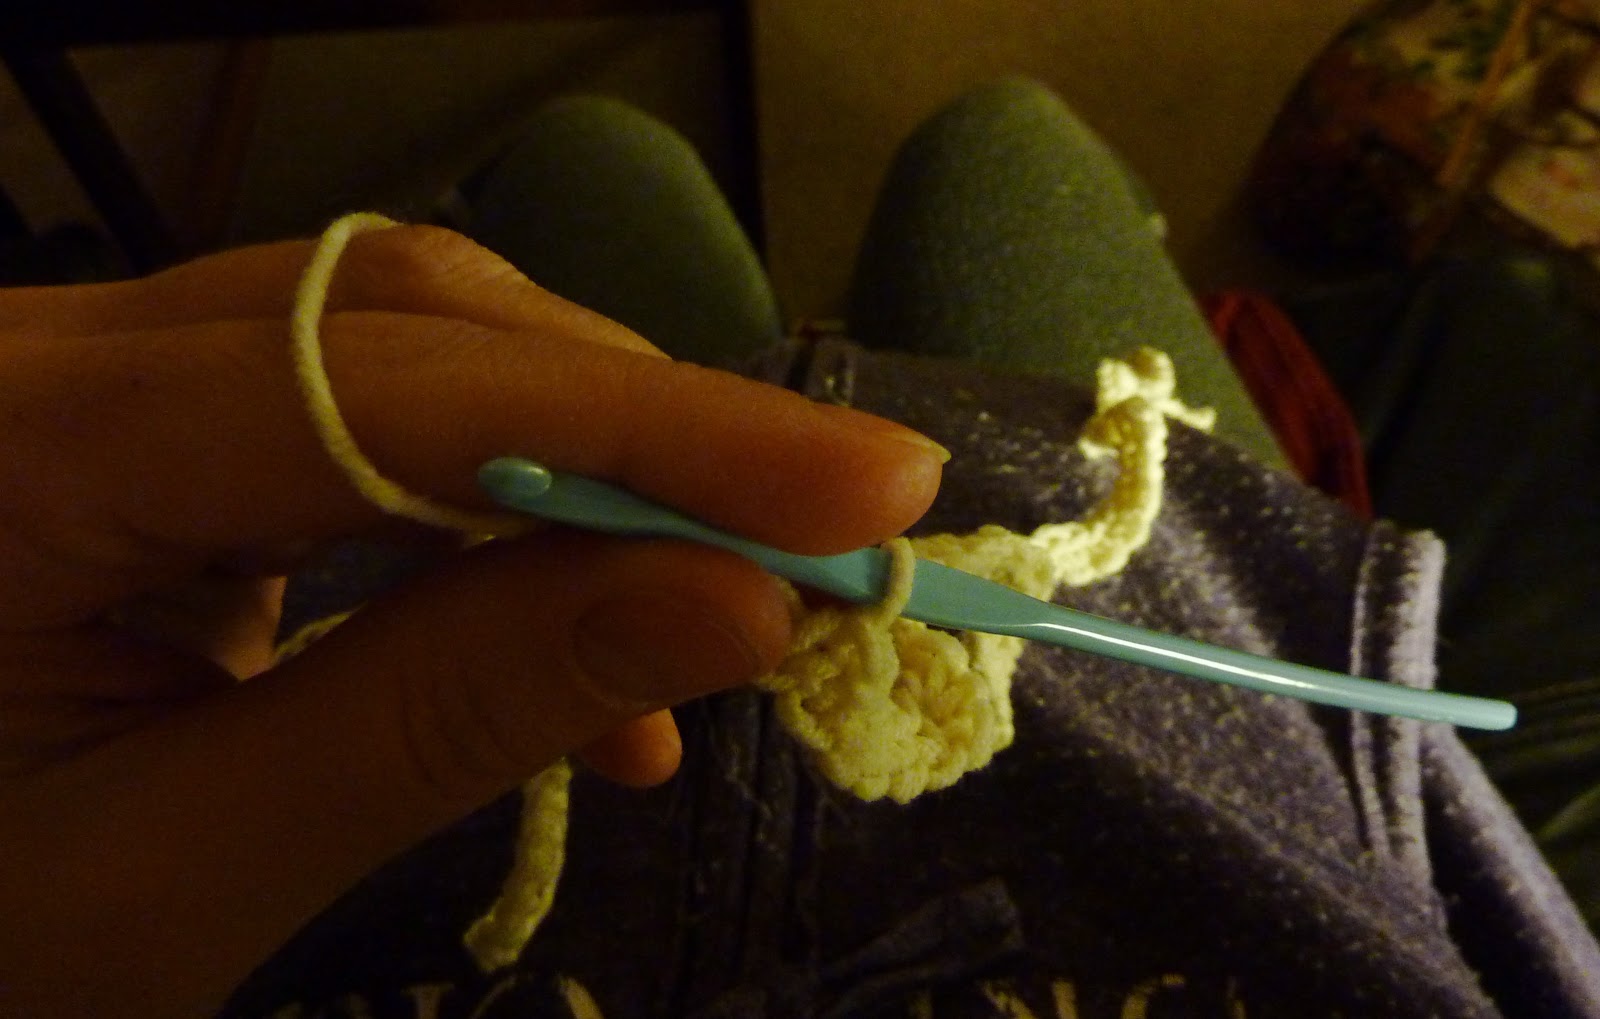 |
| Check out that bump! Something to rest my crochet on! |
I said before that I have only recently taught myself to crochet. This is mostly true, although I did make an attempt to learn in the past, only to give up in frustration. Previously I had tried to make a blanket out of treble crochet stitch, but I found I had difficulty making a starting chain of the right gauge. As a result my blanket would start out one size, only to get wider and wider and w-i-d-e-r! After frogging and retrying it several times I eventually gave it up as a bad job.
This time, after completing a successful project, I'm glad to say I started with more confidence. I also went for a pattern with a little bit more structure, although still very simple. I am trying my hand at a ripple or zig zag pattern I found on Ravelry*. It was still a pain to started off, but very quickly became more solid and dependable after a couple of rows. Now it is a dream to crochet! Up the hill, increase over the top, down the hill, decrease through the valley - ahhhh! So relaxing. Almost couldn't put it down to go to bed last night! This will now give me something crafty to do till the baby's born. I have mostly given up my dreams for last minute sewing as I still haven't hit the haberdashery dept for all those necessary bits and bobs. At least the crochet can slip easily into my hospital bag and come along for the ride!

*Ravelry is a free site for knitters and crocheters. There are tons of patterns (many of them free) to browse and use, and you can build your own profile and record of your creations. It's ace! You can also see what projects friends are busy creating. My Ravelry sign on is SuzySu if you want to look me up.
Sunday, 27 January 2013
No comment?
Hi folks. I've had a couple of people ask about leaving comments my posts. Anyone should be able to comment. If you don't have your own blog or google ID select Name/URL from the list of profiles (where it says 'Comment as:'). You can put your name in and leave the URL blank. Your comment will then appear with just your name.
Give it a try, I'd love to hear from you!
Give it a try, I'd love to hear from you!
Gran-tastic pram blanket!

It's finished! Took me the best part of 9 months to make it, but it's finished just in time for baby's arrival, and I'm really pleased with it!

I'm particularly pleased with the border which I sort of made up as I went along. It adds an extra 6.5cm all the way around, extending my rather small granny square blanket (52.5cm x 39.5cm) into a much more respectable 65.5cm x 52.5cm. It also didn't look finished until I had crocheted the frill. I experimented with three different sizes of scallop (to treble crochet height, double treble height, and triple treble height) and decided the middle size balanced well with the rest of the design.


And here's the finished product! Nice to have something handmade and new ready for baby no. 3 to snuggle up in.

Saturday, 26 January 2013
Slacking!
Having started well I have definitely been slacking off on the blog front over the last week. I have been trying to get ready for the new arrival, but alas, not by sitting lovingly at the sewing machine and crafting! I simply haven't had the energy to do the groundwork (measuring, cutting out, pinning, etc) for the projects I had in mind. I also blame the snow! We have had a lovely white week or two here in the midlands, which has only just started to thaw today. As a now heavily pregnant woman I haven't felt confident venturing out in the snow and ice, so I haven't been able to browse sewing shops for the fabric, notions and other lovelies that I would need. I have however had a number of very relaxing days with my hubby and kids out playing in the snow, when I have simply enjoyed the pleasure of a quiet house! I have also been crocheting, and am on the last stage in finishing my crochet pram blanket, so I hope to blog about the final creation in the next day or two. Just in time, as I only have a couple of weeks to go now!
Thursday, 17 January 2013
Favourite makes (Part 4 - William's bed tidy)

I may have mentioned that we're having a baby (just once or twice!). It's our third which means that in some ways I'm much less stressed about it - after all, we have most of the 'stuff' and we pretty much know what to do with a baby by now! However, having a third baby does require some logistical changes - for example, we've had to buy a bigger car! We also needed to change bedrooms around. Emily will be sharing with the baby, and so needed to move from the box room into the larger spare room. This move required a very specific 'make' (my favourite ever make!) which I will blog about in due course.
I think because I knew that this move was coming up, and would involve some 'making it special' touches for Emily, I started to look at William's bedroom to with a view to giving him some special attention too. Being a clergy family we don't own the house we live in, and we know that we'll only be here for a couple of years, so we won't be painting the walls or making any alterations. William's room is small and the previous occupant was clearly a teenage boy. The colour on the walls made the space feel dark, and there was just no room to play. It just didn't feel like a little boy's room.
The solution: we bought a pine loft bed from ebay! It has made all the difference. He now has a larger floor space to play in, and he loves sleeping up high (not to mention climbing and swinging from it like a monkey!). Of course, the thing I realised when we actually came to put him to bed the first night was that there was nowhere within reach to put a drink - even the windowsill was too much of a stretch - and as the week went on the bed steadily filled with books (which William would happily sleep on!). So I promised him a bed shelf - until I saw the price of them!! Even ebay prices were extortionate for what was essentially a plank of wood with fixings.
So, onto the make! Being as I am not known for my carpentry skills, I decided to sew a bed tidy for him instead. In fact, I was really glad of the idea as I usually find it easier to think of girly things to make for Emily and had been wondering for a while how to even it up a bit.
I had a look around on the web for ideas and tutorials, but I already had an idea of what I wanted and couldn't find anything that quite fit the bill, so I took the plunge and made it up as I went along. Some of my techniques may be a little unorthodox, and I'm sure it could be improved upon, but I will try and show my progress step by step.
First things first, I laid out my base fabric (another trusty IKEA curtain ofcut!), decided how big I wanted it (both by measuring the area I wanted to hang it in on the bed and by laying out some books to give me an idea of the scale of the pockets I wanted) and cut out a back piece and four pieces for hanging straps, including a small hem allowance. To be honest I was guessing when it came to the straps, but thankfully it turned out ok.

 I then wrapped my books and formed some extra pockets out of my pocket fabric (chosen by the boy himself from IKEA, the haberdashery dept this time). I cut these out, again leaving a hem allowance on all sides (leave a larger allowance on the pockets - you don't want to find that the books won't fit once you've finished!).
  It's hard to see here but I factored in a sort of concertina effect on the larger of the two small pockets as wanted it to open wider to hold a drink. There are more pics further down the post that attempt to show how I did this.
I ironed all the edges of the base material under twice and hemmed all the pieces, then pinned on the straps at regular intervals across the top edge. I also positioned all my velcro pieces by taking the whole thing up to the bed and trying it over the rail to work out where I needed to put the bottom tabs. I used a box stitch to fix the straps to the main piece, and to sew on the top and bottom velcro tabs. I reinforced this a couple of time around to make it really strong, knowing that it was likely to get overloaded with books if not swung on from time to time!


My velcro tabs look a bit wobbly from the back as it's tricky to keep the velcro still whilst stitching from the other side, but the boxes look fairly neat from the front.


The next job was to pin the pockets on where I wanted them. I hemmed the top edge of each, sewing a double line like a tramline as I had decided to fix the pockets on to the main piece with a double line for extra strength. I don't have a twin needle attachment for my machine so I just did this by sewing round twice (again, just make sure you have left enough hem allowance so that the books will still fit once you've sewn your double lines!).

Sewing the concertina pocket on was a little tricky. I started by folding and ironing the pocket in the shape I wanted. I sewed down the middle crease (right sides together) to help hold the shape. Folding the whole of the bottom edge over to form a hem I attached the bottom of the pocket to the main piece first with my two lines of stitching. Then I carefully stitched the back fold of the pocket to the main piece on each side, staying as close to the edge as I could manage. It's probably not the best technique, but it seems to work.


And TA DAAHHH....... you're done!

Here it is, installed on the side of my son's bed. He loves it, and it definitely helps keep his bed and room tidier. I went with a large book pocket, a slightly smaller book pocket, a drink holder, and a 'secrets pocket', but hey, anything goes!

Wednesday, 16 January 2013
Cooking up a storm
In the last few weeks of pregnancy I have been slowing down and slowing down, until I reached the point of feeling that I may have to just sit in a chair (or in bed!) and wait it out until the baby comes. I have been so heavy and tired, with bits that ache and a baby that does aerobics in my tummy! However, yesterday I packed the kids off to school with my darling spouse (thank you for taking on the school run hubby!) and went back to bed. I slept and then lounged, and didn't get up until 11.30 - just before I had to leave to pick up my youngest from preschool! I jumped in the shower, got in the car and drove. There was still a little snow on the ground, but the sun was shining and the sky was blue, and I felt AMAZING! Wow, that morning in bed had such a big effect. I spent the afternoon sorting out bedrooms, washing baby blankets, cooking and I even made it to the supermarket for the first time in a while without feeling ready to collapse afterwards. I think I was more productive in one afternoon than I had been in ages. Hoorah!
Of course, this sudden burst of energy may mean that the baby's arrival is imminent and the old nesting instinct is kicking in! Whilst last night's sleep was not so great, I'm still feeling pretty good, and spurred on by yesterday's success I decided to spend the day cooking. I'm anxious to fill up the freezer with homemade, hearty meals for us to eat once the baby is born. I have already made Jamie Oliver's 'Jools' Favourite Beef Stew' which was really delicious and definitely to be recommended, although I have to admit I didn't read the instructions properly and ended up chucking the rosemary and garlic in with the rest of the stew and I didn't bother with the parmesan. I also doubled the quantities so I'd have plenty to freeze, although I wish I'd made more!

Best thing about this stew was that Jamie said he'd tried two batches - one browning the meat first, and one without - and that the batch where he hadn't browned the meat was the best. So, he writes, "I've stopped browning the meat for most of my stews these days". Thank you very much Jamie, and now that I've read that so have I!!
In the oven at the moment is a Tesco Lamb Casserole with Dumplings Recipe also with double quantities (although I haven't got as far as the dumplings yet), and on the hob I am cooking enough mince to fill at least two or three cottage pies! Ain't winter food BRILLIANT?!

Subscribe to:
Posts (Atom)